Customize/Create template
The template in the print report determines the formatting of the print file.
If you have imported the default template DefaultTemplate from Aeneis in a created print report (see chapter Import default template with styles), you can customize or replace this template.
If there is no template in the print report yet, you can create a new file to import as a print template for the report.
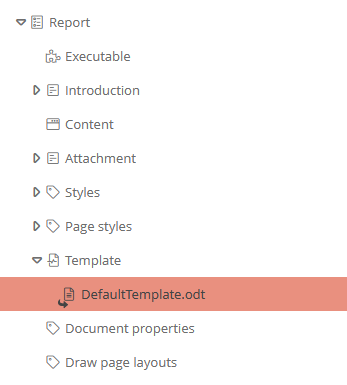
Requirements:
-
The SystemAdministration is open
-
Print report is created to which a template is to be assigned
Instruction:
-
Download the DefaultTemplate.odt template in the SystemAdministration and adjust the formats accordingly. Alternatively, you can use LibreOffice to create a new document or open an existing template.
Attention: Only use LibreOffice for print templates.
-
Customize the document with the following content:
-
Paragraph formats (optional)
-
Character formats (optional)
-
Header and footer formats (optional)
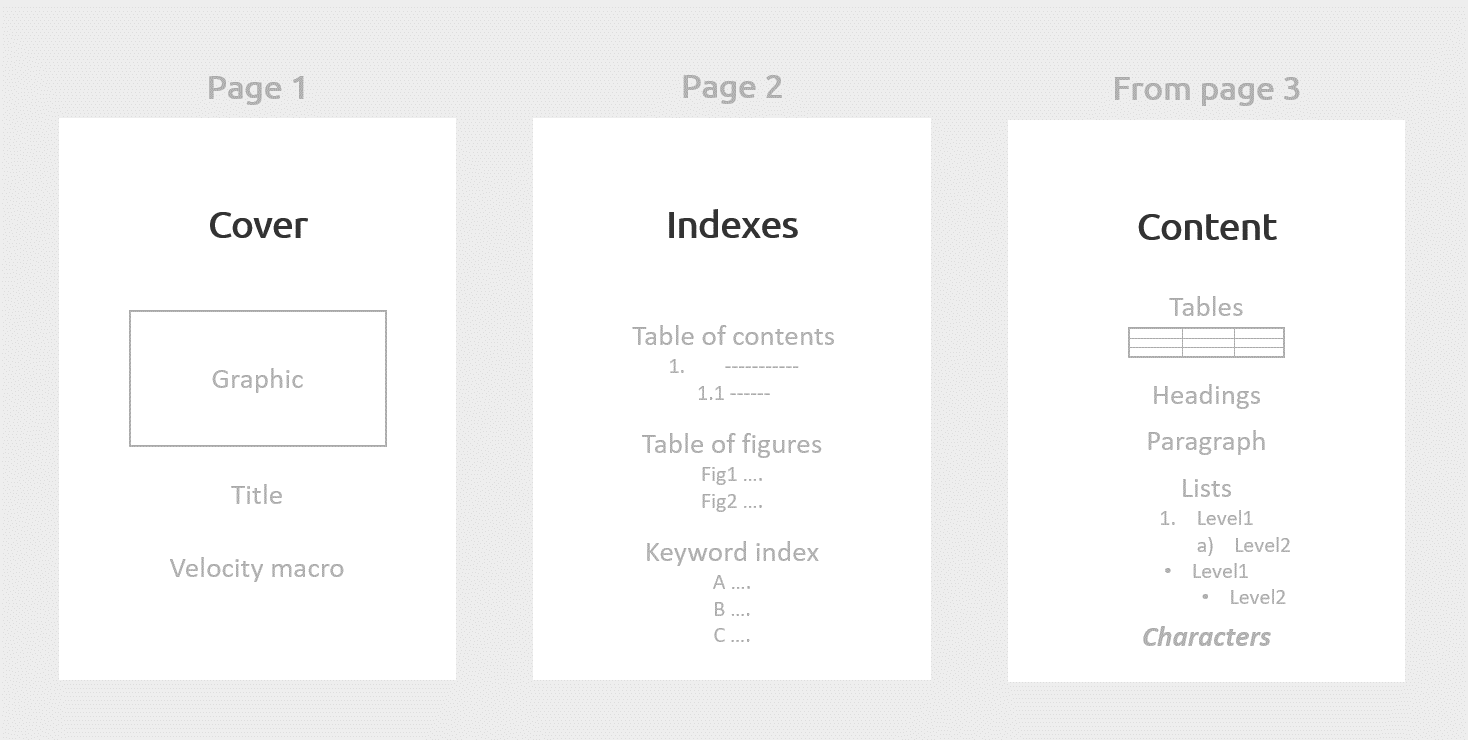
Note: You can also use velocity macros in the document.
-
Save the document as an odt file (OpenDocument-Text)
-
In the SystemAdministration, select the document DefaultTemplate.odt in the print report under Template.
-
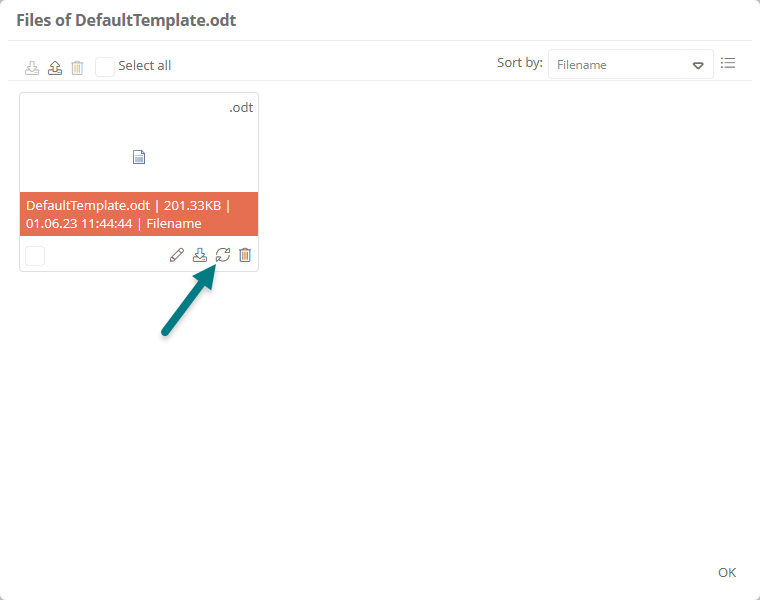
Click Files in the toolbar to open the file manager
-
In the file manager, replace the file with the new template:
-
At the template file, click the Replace File button and select your template file:
OR
-
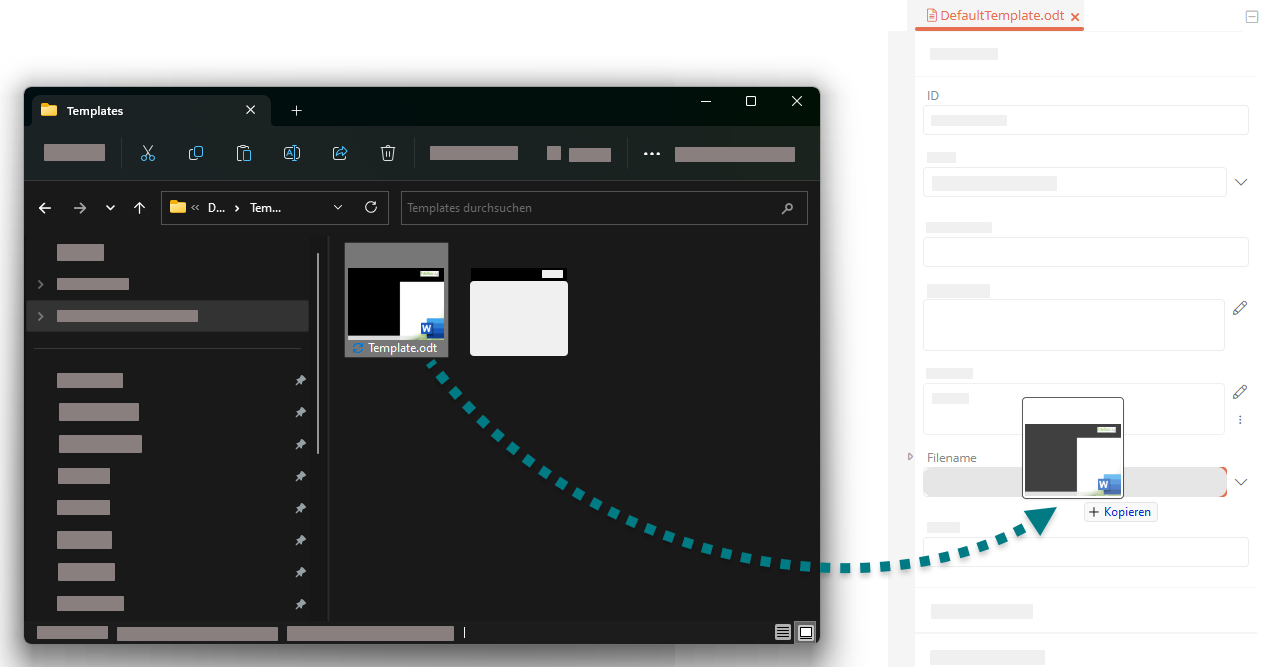
Drag and drop the file from the file management system (e.g. Windows Explorer) onto the File Name property:
-
-
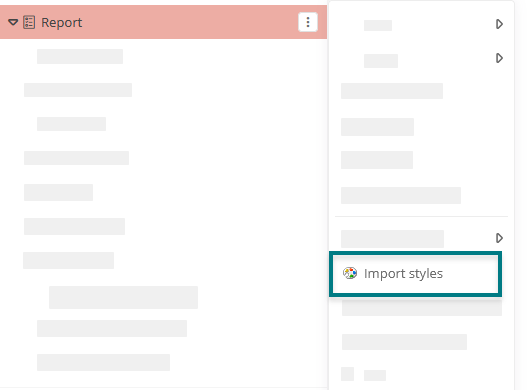
Open the context menu of Template and click Import Formats to use the formats of the uploaded template:
Result:
The formats of the template are imported and displayed under Formats. In the contents in the print report, you can store a print format in the respective component via the properties.
Note: If a template has already been imported and will only be adjusted afterwards, the template must be updated via the context menu on the report.
